Thursday, December 25, 2014

Pen and Paper....Mandala Design

Hi Dear Friends

Pen and Paper....Mandala Design, 6'x8' 


Pen and Paper....Mandala Design, 6'x8' 
I enjoy Mandala drawings and it was such a pleasure to make this card for the challenge set by Indira for her mega-celebration. I have used a black Uni-ball gel pen to draw the design on thick card stock and used Sakura glaze pens to fill color. The glaze pens have given a wonderful embossed look and texture to the design !! This is a big card, 6x8 inches and I kept working on it while teaching my younger son for his exams.By the way, here it is on my bookshelf and you can see two of the books written by me in the left most corner and one on the right most corner.

some work in process pics....

Hope you can see the embossed effect of the glaze pens here........

Pen and Paper....Mandala Design 

Pen and Paper....Mandala Design, 6'x8' 


Pen and Paper....Mandala Design, 6'x8' 

Pen and Paper....Mandala Design, 6'x8' 

Pen and Paper....Mandala Design, 6'x8' 


at some places I have given multiple layers of glaze inks to enhance the embossed effect.....some highlighting with a white Uni-ball pen.....

Pen and Paper....Mandala Design 

Pen and Paper....Mandala Design 


The 18x14 cm panel is mounted with foam tape on a cream cardstock base. The sentiment inside is computer generated. I worked for about 90 mins every day for three days and totally enjoyed it, thank you Indira, it really was lots of fun !! The colors somehow remind me of the vibrant Patachitra paintings of Orissa !! Hope you all like this...I apologise for the bad pics, all clicked using my phone and on cold winter nights !! If you want you can see some of my earlier Mandala paintings here and here.

Pen and Paper....Mandala Design 


linking to Indira's challenge
http://cosmicstrawberry-colette.blogspot.in/2014/12/cosmic-colours-challenge-8.html


Please do leave your comments. I would love to read what you say and I would love to visit your blog too !!

Saturday, November 22, 2014

Recycled Peacock bottle and gift box set

Dear friends

am back after a long time,a quick post to share another painted bottle with all of you....

Decoupage and glass colors
I have used Glass colors and decoupage on the bottle. The peacock design is on both sides of the bottle. I have used water based glass colors by Hobby ideas in  blue and green on the bottle and a teeny- tiny bit of glitter around the decoupaged image. Used two coats of varnish to seal the colors and the image. The gorgeous papers are from Mesmerising India collection by Divya Thallap available with Craftslane. The bottle is a recycled liquor bottle and the box a coffee mug pack. The box is also decoupaged using same collection and I have distressed the edges by using metallic acrylic colors in metallic blue/green shades. 


Decoupage and glass colors


Decoupage and glass colors
The top of the box and two sides have been stencilled using homemade texture paste and fancy Feathers stencil and then painted in blue/ green and a little bit of gold dust powder. This is how it looks with the lights  ...................

Decoupage and glass colors
This gift set is for a dear friend with some more goodies already packed in the recycled box!!

linking to http://lulupu.blogspot.in/2014/11/challenge-42-gift-for-festivals-made.html
http://blog.imaginationsonline.com/2014/11/challenge-5-out-of-box.html
http://anythingbutacard.blogspot.in/
http://beyondgrey.blogspot.com.au/2014/11/bgc63-monochromatic.html......used blue/greens.
http://rheddscreativespirit.blogspot.in/


Please do leave your comments. I would love to read what you say and I would love to visit your blog too !!

Monday, September 1, 2014

Altered mobile cover

Hi Friends

Just tried the awesome stencil designed by Divya Thallap of Yelling Yellow and available from Craftslane.

I have used the stencil with the Texture paste from Camel and left to dry. Used Camel Photo colors in Deep Yellow, light Blue and Crimson directly with a dropper. Use a tissue to absorb extra color if needed.

The butterfly and alpha are MDF cut outs from Craftslane, these have been covered with texture paste and glitter glue applied in purple, blue and pink.  
   
The butterfly is simply a combination of a bead and flower pollen.......

Sequins in pearl yellow and teal are layered and a tiny pearl adhered in the center with glossy accents. Hope you can see the glossy layers and texture on to the stenciled surface as well as on the embellishments. I have used multiple layers of Sapphire Transparent Glass stain to seal the stenciled layers and colors and to adhere the embellishments, I have loved using this product as it is super glossy, dries fast and gives a resin like effect.

I am happy with my artsy custom made phone cover, hope you all like it..
linking this to mixed-media-monthly-challenge-4-color ( inspired by the colors in the inspiration pic )


Please do leave your comments. I would love to read what you say and I would love to visit your blog too !!

Saturday, July 26, 2014

No Outline Watercolor

Hi friends

I have tried two cards with no outline watercolor technique as shown by Heather on this post here. I am hugely inspired by Sanketi and her lovely watercolor art pieces. Her tutorials are awesome and I have learnt a lot from her......so these cards are for sending some virtual hugs to the ever helpful Sanketi.

I have used the Simple Sunflower Mini stamp set by Papertrey Ink for stamping the flower and the sentiment on both the cards. The flowers and leaves are stamped directly with watercolors on the watercolor paper, different shades are used to highlight the colors. added some color splashes randomly and used a black micro tip pen to define shapes after the watercolors have dried. The sentiment is stamped with Memento Cottage Ivy. The panel is mounted on Black card stock. The card measures 8"x6".

Sending you Hugs I, Watercolor, 8"x6" on watercolor paper


Sending you Hugs I, Watercolor, 8"x6" on watercolor paper
The second card is also made using the same set of stamps and stamped with watercolors. The bird stamps are from some other set. This card has a diffused background and the details are added with a black micro tip and a white uni-ball pen. i liked the artsy/ folksy feel of this one too. I have mounted this panel on Ivory colored textured card stock. 


Sending you Hugs II, Watercolor, 8"x6" on watercolor paper


Sending you Hugs II, Watercolor, 8"x6" on watercolor paper


I have used the Simple Sunflower Mini stamp set by Papertrey Ink for stamping the flower and the sentiment on both the cards. 


Please do leave your comments. I would love to read what you say and I would love to visit your blog too !!
Linking to Make It Monday #173: No Outline Watercolor

Saturday, July 19, 2014

A set of three............Altered Bottles and a tutorial !!!

Hi Friends

some more altered art....a set of three using fine POP/Ceramic powder, PVA glue, acrylic colors and dry brushing technique. The texture/ design on the bottles is also made of a clay using plaster of Paris and Fevicol MR/white school glue/ Elmer's/PVA glue. You can also use modelling paste for this.


The bottles are first cleaned, labels removed and dried thoroughly. Have used a paste of Plaster of paris mixed with glue thinned with water. The paste is of the consistency of  Gesso and a thick layer is put all over roughly to have an uneven texture.Let the bottles dry overnight.


The flowers and leaves are shaped with a clay mixture made of Plaster of paris and white glue. Knead the dough with an adequate amount of glue till the mix is of a consistency where it can hold a shape and is smooth. This clay can keep well for few days wrapped in a tight cling wrap. You can make the flowers/vines and leaves separately and let these air dry. 


I made another one using small pieces of marble mixed into the clay mix on the base layer......


a closer look...................


The clay flowers can be used in mixed media, altered art and any 3-D projects. I have arranged and adhered the flowers/ leaves etc on the textured bottle with the clay paste. The next step is painting the bottles....cover the base of the bottle and the flower arrangement thoroughly with black acrylic paint taking care that all the nooks are well covered. Let the black dry completely. Next I have used acrylic metallic powders by Fevicryl in gold, silver and copper and using a very less amount of color on a dry brush have lightly brushed layers of these colors on to the black. you can use any metallic colors, dry or liquid and using the dry brushing technique achieve the same effect. 


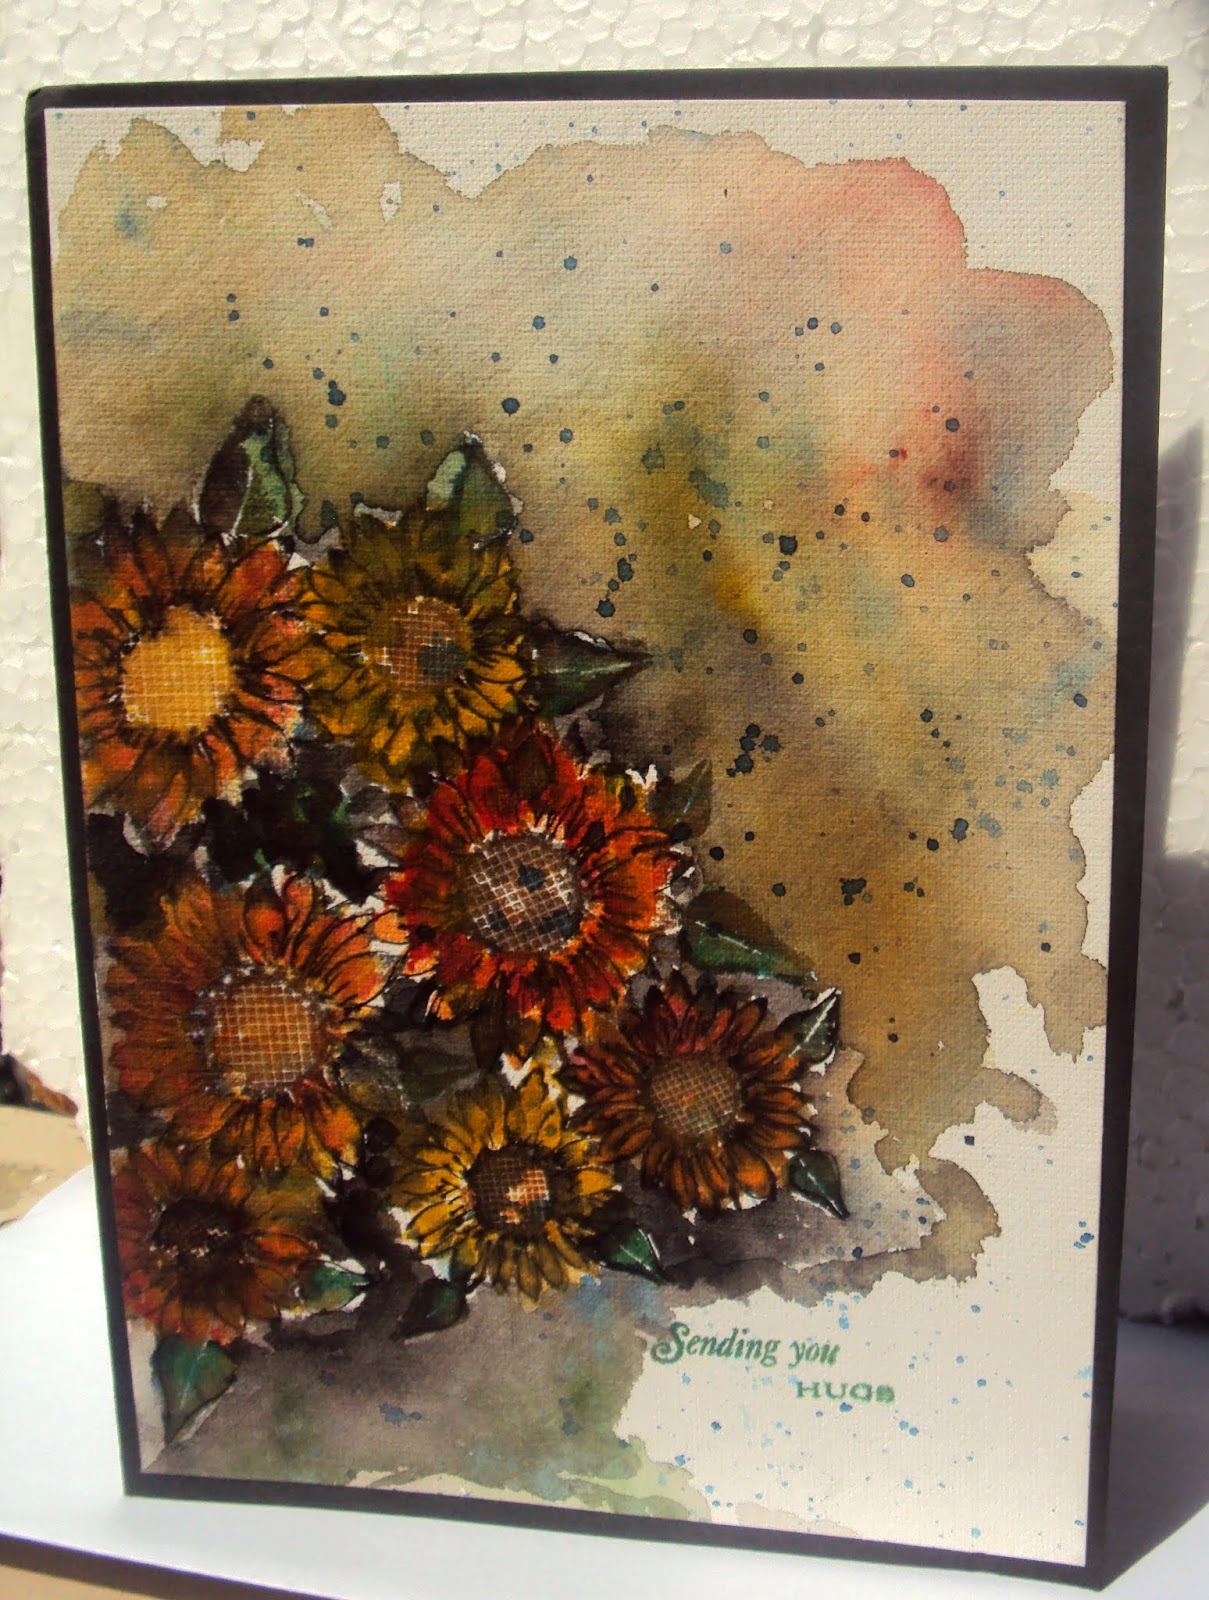
Here is another one I did with the same technique except that the faux metal effect is on the background. Here you can see the ceramic work with a light wash of color.... I liked the simple folk feel of it too !!


Some tips for Dry Brushing Technique : 
1. Dry brushing technique involves using a paint brush that has a minimum amount of paint on it and using it to highlight textures and edges.
2. It is best to use a flat brush for this technique.
3. Keep your brush at a 90 degree angle and lightly brush edges or raised areas. Start with a light touch and gradually build color/layers.
4. The secret to this technique is not to apply too much paint on your brush, it is a good idea to keep a spare paper on which you wipe your brush after taking paint on it before starting on your textured surface.

You can see other upcycled bottles by me hereherehere and here !!!

A final look..............  


Please do leave your comments. I would love to read what you say and I would love to visit your blog too !!
Linking to eclectic paperie-july challenge-altered-bottles
                lulupu-challenge-35-go-3D

This project got a Special Mention on both the challenges !!


Bird sketch

Hello friends

just a simple bird sketch for you....am getting drawn towards drawing, painting more and more birds....here's a simple 5 min sketch done today morning inspired by a pic shared on Face book by a dear friend.


my first bird drawing and now I plan to fill a full sketch book by drawing the different species of these lovely winged friends.....


Please do leave your comments. I would love to read what you say and I would love to visit your blog too !!

Wednesday, May 21, 2014

Glass and Metal....

Hello friends

here's another bottle up-cycled by using homemade texture paste, stencils and some handmade bottle cap embellishments.I have used acrylic colors in Black, Burnt Sienna and Metallic blue to give a faux metallic patina effect on the bottle.
Glass and Metal Upcycled bottle


another angle, see the texture on the sides....

Glass and Metal Upcycled bottle ,side view
The bottle caps have been flattened using a hammer and sequins, chunky glitter and bling added with crackle accents. You can also see my bottle cap windchimes here for more details. 

Glass and Metal Upcycled bottle , back side
Used Tim Holtz Shatter stencil on front and back and Moroccan Tiles stencil by Crafters Workshop on the sides of the bottle(all supplies from Imaginations
Glass and Metal Upcycled bottle , click on the pic for instructions.

Hope you like this ....
linking to   Gloria designs challenge

Please do leave your comments. I would love to read what you say and I would love to visit your blog too !!

Saturday, May 3, 2014

Upcycled boxes and a Spectacles case

Hi Friends

These started as simple cardboard boxes and a spectacles case in plastic. Have coated these with a layer of ceramic powder paste and then stenciled leaves with the homemade texture paste using Fancy Feathers Crafters workshop stencils from Imaginations. I won these on the like and share contest by Imaginations on their facebook page. Thank you Aditya Gupta for sending these faboulous stencils to me !!!

The life is good is handwritten while the ceramic paste was wet with a ball point pen.


These were colored using glass colors and Gold dust powder.....the box at the top in the pic above has a hand made Washi tape using painters tape and doodling designs with Paint pens in red, green and white !! The white dots are made using the Camlin paint pen in white.


Hope you like these ............You can also refer to homemade texture paste recipe here .

linking to Eclectic Paperie: get stencilled
Craft my life
Paper-wings-productions/may-challenge-anything-goes
so happy that this project was the winner at Eclectic Paperie, see here
Please do leave your comments. I would love to read what you say and I would love to visit your blog too !!
Related Posts Plugin for WordPress, Blogger...

LinkWithin

Related Posts Plugin for WordPress, Blogger...