
Hi Friends
Sharing some embellishments I made with some homemade Cold Porcelain clay and a small tutorial today

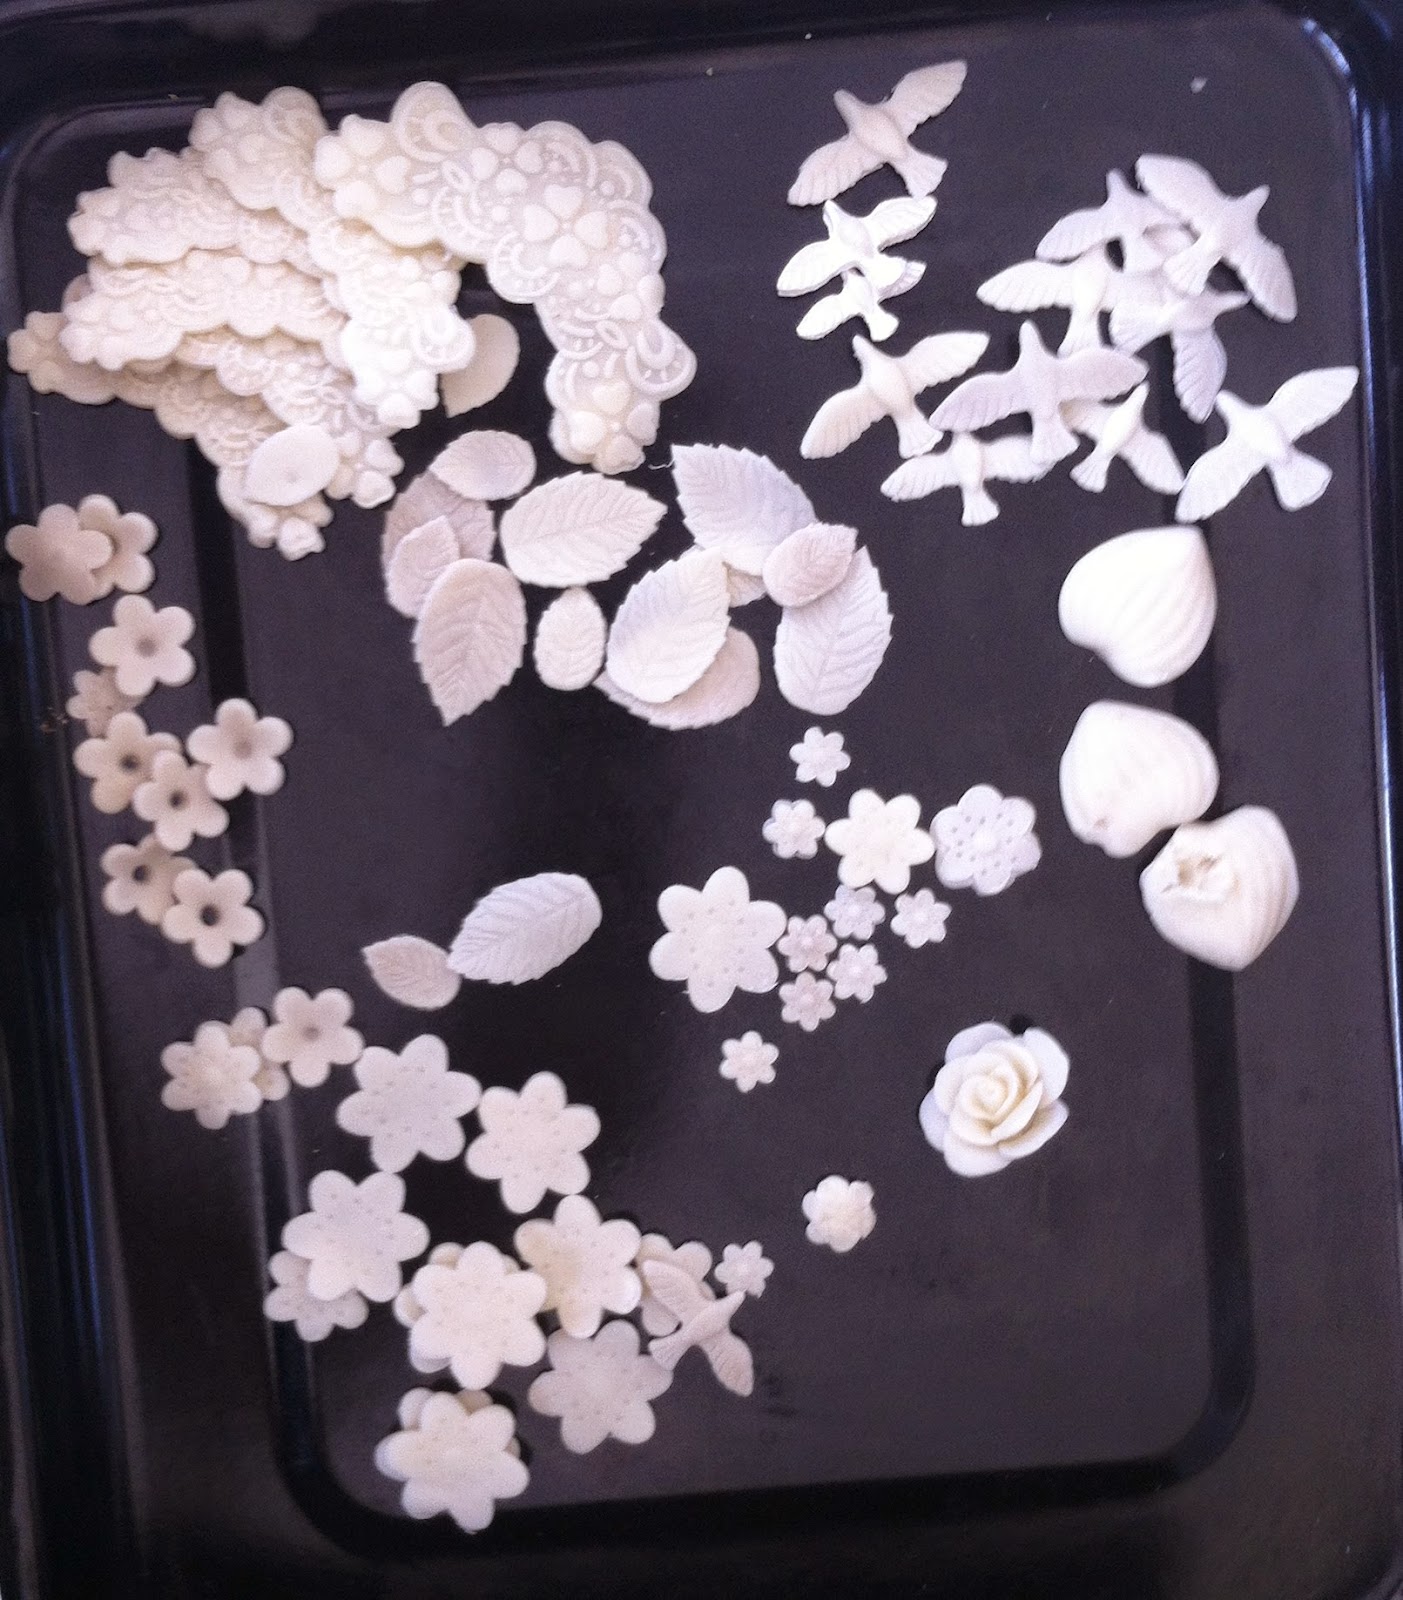


I used easily available stuff in the house to make the clay and some sugarcraft/ terracotta plunger tools to make these , have a look at my plunger tools and my ball of clay wrapped in some cling film...


and have a look at a mixed media piece using my clay birds after being painted with Acrylic colors in black and pearl colors

Cold Porcelain Clay Recipe :
Cornflour : one cup
PVA Glue: one cup ( I used Fevicol MR )
White vinegar : one TBS
Baby oil/cooking oil : one TBS
Hand Lotion
Add all except hand lotion in a microwave safe bowl and mix well. Put in the microwave for 10 secs bursts on medium three times. Take out between intervals and mix well every time. cooking time may depend on your particular machine so it is better to start with shorter duration. Do not overcook and take out when the mix starts to get lumpy. Dust your kitchen counter with a generous amount of cornflour and take out the clay mixture while it is hot and knead well. If you find the dough dry then add some glue and if it is runny then add some cornflour. It is easy to adjust the mix while it is hot.Knead till smooth and forms a tear shape when pulled.coat generously with Hand Lotion and wrap tightly in cling foil. Rest for a day at room temperature and then use whichever way you plan to. As this is an air dry clay, keep tightly wrapped in cling foil and then in a zipper bag. It took me about half an hour to make the clay and another half hour to make all these embellishments. These are very strong after they dry and can be painted, sprayed, glittered to use on paper, metal, wood or 3-D panels etc.
I really enjoyed making these, hope you will give it a try !! You can also see this link for more information.

This post was published on Totally Tutorials
Please do leave your comments. I would love to read what you say and I would love to visit your blog too !!


23 comments:
Wow, what a wonderful collection! I use crafter's clay right now, but it is really pricey and hard to find!! I am definitely going to give your recipe a try! Just one quick question about the clay after it dries...is hard and breakable or soft and flexible? Thanks so much Suman! hugs :)
OOh so beautiful !
Cheers
Dr Sonia
Cards Crafts Kids Projects
Superb!! Thanks for sharing this tutorial Suman!! Designs have come out so well!! I am sure you will love t use this in your projects.
Thanks Pamellia, after drying the clay is hard but had a tiny amount of flexibility too, too much of pressure and it can break but mendable.what I mean is it is not brittle !! Best thing is the clay keeps well on room temperature as long as it is packed airtight !! Hope this helps, Hugs !!
The embellishments look fab SUman ! Thanks for the tutorial !
Suman these are really beautiful, I love those birds
Kevin xx
This is also called lamasa clay. It can cooked on the stove too. You have a great collection of plunger tools Suman. That's a lot of beauties to play with now!
Thanks for sharing this Suman! Was wondering how you made the embellies!
awesome embellishments suman mam
Love love love that...Have been in a mood to play with some clay and ur tute comes in handy, i say...Love those cut embellies...Greatly used on ur project dear...
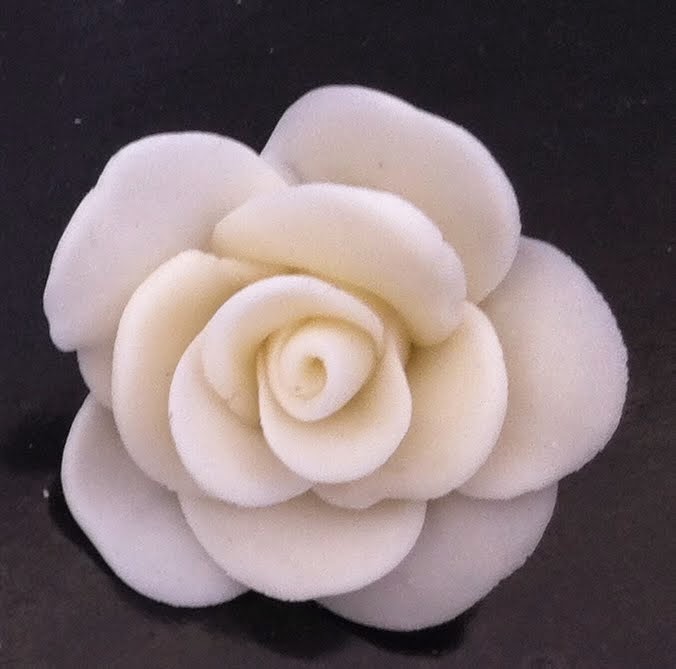
I bought corn flour packet few months back when i was motivated by cold porcelain flowers done by somebody on our craft blogosphere but its been lying in the kitchen for like ever and i never got around trying them. Im going to try them out soon :) especially the roses..adorable!
These are fabulous! Thanks for sharing....I just might give this one a go!:)
Πραγματικά καταπληκτικά!!!Η βοήθειά σου με τις οδηγιες σου ειναι πολυ μεγαλη γιατι είναι ευκολη και πολυ οικονομική. Ευχαριστούμε πολύ!!!
I pin this, I am sure I will use this recipe in the future.
Thank you for sharing it. :)
(beautiful rose btw)
Your clay pieces are so beautiful! Thanks for the inspiration and the recipe! :D
This is astonishing, your pieces look like the finest porcelain - the birds, the leaves, the wonderful rose - just fascinating and wonderful. And of course you can paint them as you've shown with the birds here.
Thanks very much for the detailed tutorial, I've bookmarked it.
Suman, these are absolutely beautiful! I can see endless projects with gorgeous embellishments coming up! Could you please check your emails for me? I have sent you two emails regarding your win at Our Creative Corner. We'd love you to come back and do a Top Talent spot for us. Leave an email for me via my blog if you can't find the mails I sent. My blog is: http://julialsw.blogspot.co.uk/ or you could leave a message at OCC. Many thanks as time is rather short now! Juliax
These are beautiful, and it was so kind of you to create the tutorial and share the recipe.
Absolutely amazing!!! Love each and every piece. Thanks for playing along with us at BGC :)
Fantastic! And the layout is wonderful!
Thank you for playing with us at BGC!
Oh wow well done !
Wish i could have seen more pictures of the LO itself !! but great going with the embellishments !
Thank you for playing along at BGC!
It really a very useful blog .thank u.
Superb tutorial di !! You are amazing!! 💕💕
Post a Comment